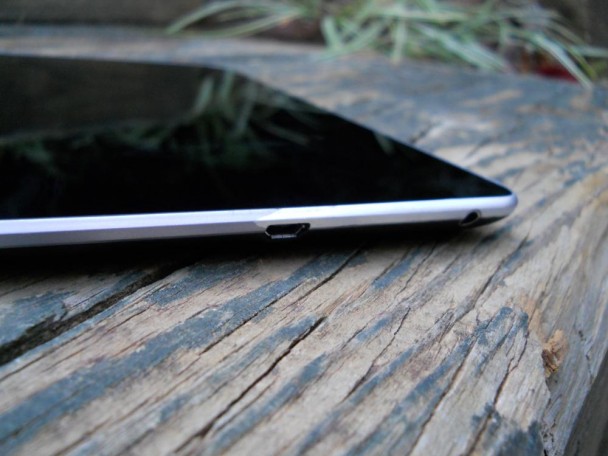
How to repair the silver bezel on the Nexus 7 with $5 and basic painting skills
Earlier today, the unthinkable happened. As you can probably guess from the title, the unthinkable involves me dropping my Nexus 7 onto a cement driveway, and marring the plastic silver bezel quite noticeably. Some people wouldn’t be bothered, but I get quite annoyed if my bezel and display aren’t in perfect condition. Since I will likely be returning the tablet to ASUS in a few days anyways, I decided to stop at the hardware store and pick up some supplies in an attempt to fix the damage. In the post below, I’ll walk through the steps I took to repair my tablet’s bezel, and provide a look at what I think are decent results for spending only $5 and 20 minutes of my time.
Supplies
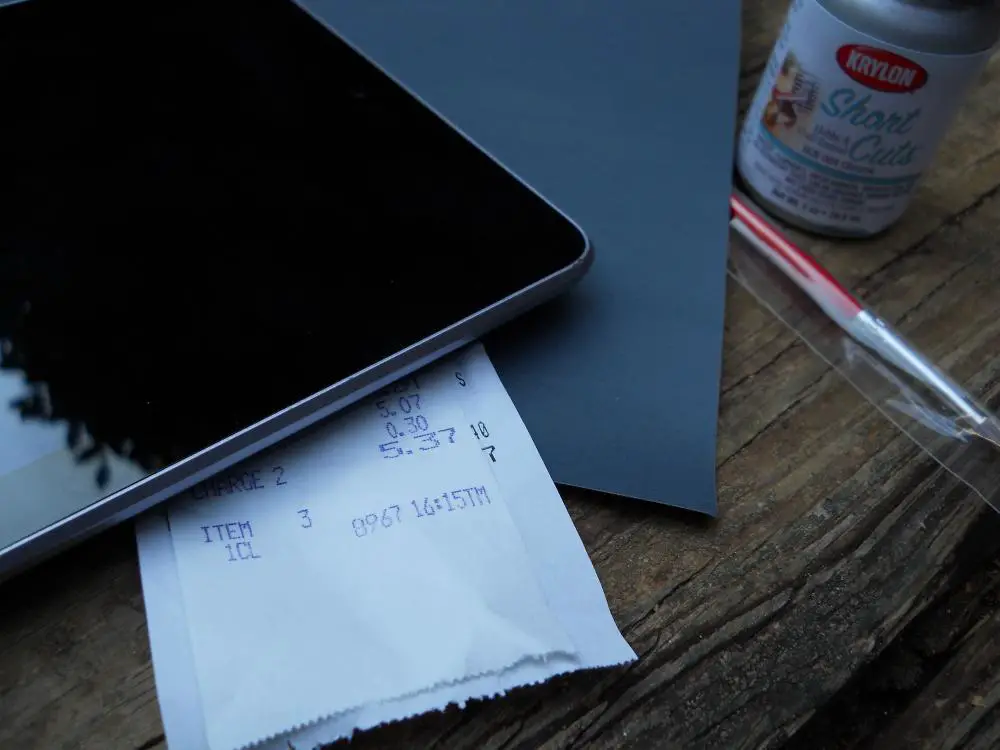
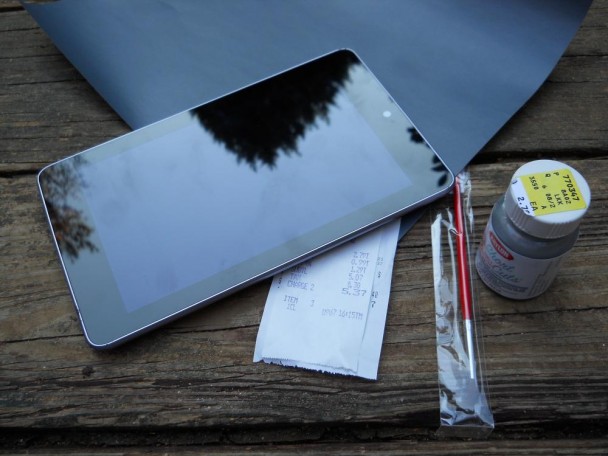
I picked up all the supplies that I needed from my local hardware store on the way home today. A small paintbrush for $0.99, the first jar of silver oil-based model paint that I saw for about $2.75, and a sheet of sandpaper with a grit rating of about 1,000. I would suspect that many people wouldn’t need to spend even this much to perform the repair, provided they had sandpaper and paintbrushes handy to begin with. The paint matching is the most concerning part about buying supplies, but I spent very little time trying to color match since there weren’t many options, and I am still quite happy with the results. With enough time, I’m sure a nearly perfect match could be found.
Preparation
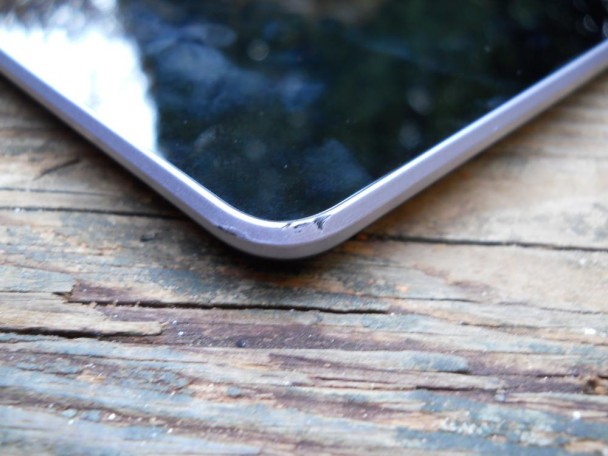
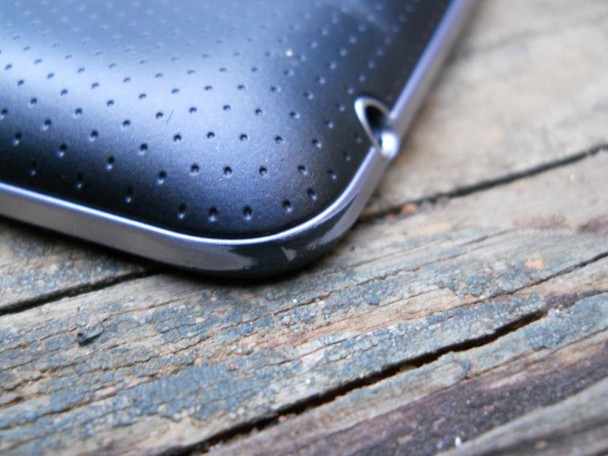
Before getting down to business, here’s a look at the damage on one of the corners from the fall. This is the second most severe bit of damage, as the first corner by the headphone jack has approximately three times the damage shown here.
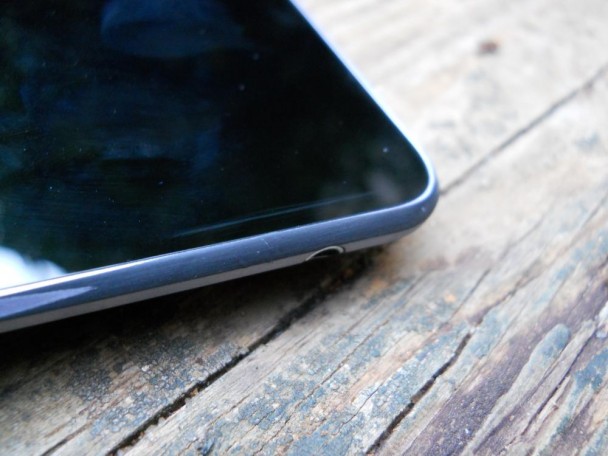
Here you can see some of the damage caused by the fall to the area near the headphone jack, although most of the uneven portion is on the front of the device and not visible in this picture.
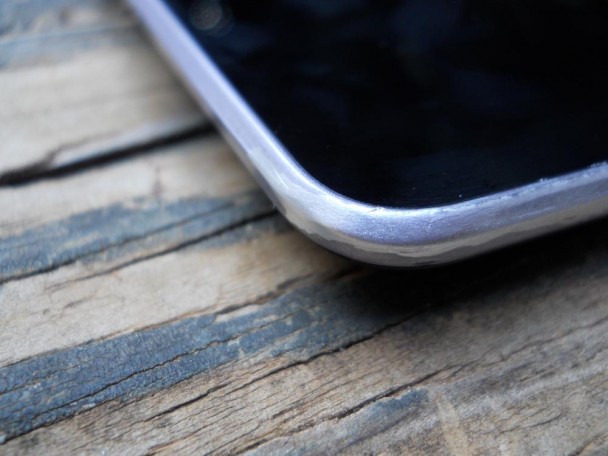
To begin the repair, I started with sanding all the affected areas down to the black plastic underlying the chrome trim. With the 1000 grit sandpaper, this took a bit of time, but left a smooth result. The only thing I would be careful of is the fact that the trim actually has two flat planes and an edge in between, so in order to maintain the stock look it is important not to soften the edge. After sanding down the damage to a smooth surface, I was left with what you see above. Actually, the simple matte black finish doesn’t look too bad, and I may even try sanding the entire bezel should the silver paint not work out. Anyhow, after carefully sanding away all the damage but being careful to maintain the OEM shape, I moved on to painting the bezel.
Painting
I didn’t take the time to cover either the glass or the back cover when painting, and simply was very careful with the small brush. I used very little paint, and the result was a fairly smooth application. Some stray paint did land on the glass and back cover, but I was able to scrape it off. Were I painting the entire bezel, I would probably take the time to tape it off, but for touch ups, just a steady hand should be plenty. I used two coats of paint, but the first would likely have been sufficient as well.
Results
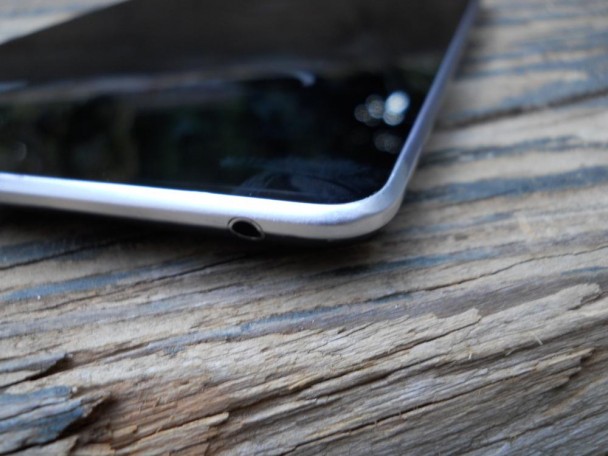
Here is an image of the headphone jack corner, the one with the most damage to begin with. As you can see, the edge has been worn slightly rounder, but other than that the OEM look is maintained. The paint is smooth, and it looks nearly stock and much better than the jagged black edges that I had before. Also, it is worth noting that the smudge on the screen is a fingerprint, as there was no paint on the display.
It obviously isn’t perfect, as you can even see the color transition above, but overall I’m quite happy with this cheap repair. There is no longer a black blemish on my Nexus 7, and the entire bezel is perfectly smooth. In most lighting, the paint doesn’t even look any different than stock, and even when the lines can be seen they aren’t major. Still, now that I’ve seen the black bezel underneath the paint, perhaps the next time I drop the tablet I will end up switching to a black bezel.

