Extend the Life of Your Old MacBook Pro
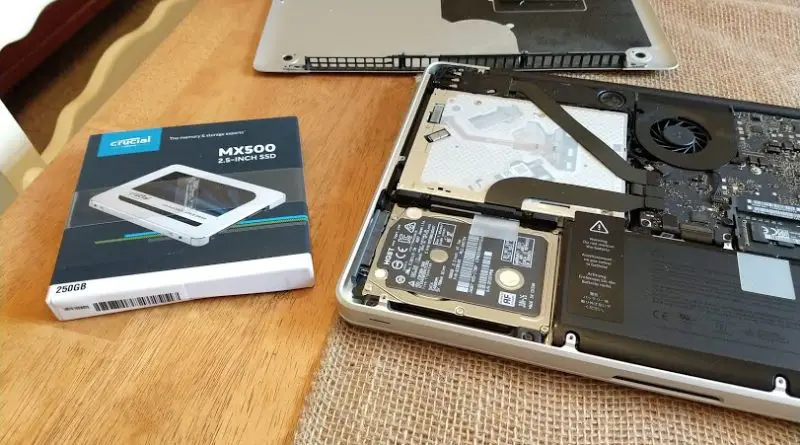
Laptop designs and performance get better and better all the time but the best ones don’t come cheap. Lots of folks have older laptops that, though they are getting long in the tooth, have potential for renewed performance with an easy SSD upgrade. Today, we’re taking a look at the upgrade process for a 2012 MacBook Pro. This same basic procedure applies for 2009-2012 MBPs.
1. First things first – backup your data. Upload your docs to Onedrive, iCloud, or whatever service you need. Collect any product keys for software you need.
2. You’ll need to choose and order a drive. For this article we are using a Crucial MX500 250 GB SSD that Crucial kindly provided. This $40 part will drastically improve the performance of your MacBook. Almost any 2.5 inch SSD should work but we recommend Crucial as a longtime trusted source of disks and memory.

3. Get your tools together. You need a small Phillips screwdriver, some kind of plastic pry tool, and a T6 Torx driver. Most phone repair kits will have everything you need, like this $10 one from Amazon.
4. Once you have all of your data backed up and your parts together it’s time to remove the back panel of the laptop. Flip it over and remove all 10 Phillips screws. Keep track of where the different sized screws came from so that reassembly will go smoothly. Once the screws are out, the back panel should lift off easily.

5. Disconnect the battery using a plastic pry bar (or stiff credit card).
6. Use the Phillips screwdriver to unscrew the screws in the brackets surrounding the pre-installed hard drive.
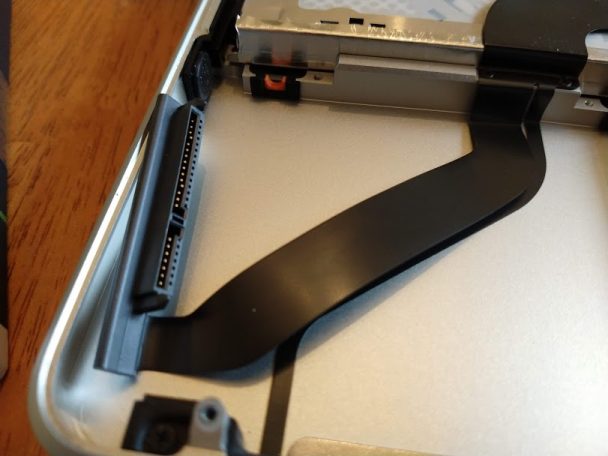
7. There should be a plastic tab on the pre-installed drive that you can use to lift the drive away from the motherboard. Once you’ve lifted it up, disconnect the cable from the hard drive.
8. Peel off the plastic tab and install it on the new SSD. There are four pegs screwed into the sides of the hard drive. Transfer those to the new SSD.
9. Then simply reverse these steps to install the new drive. Connect the cable, place the drive in the empty bay.Install the brackets and reconnect the battery. Install the back panel and the physical installation is done.
10. The SSD that you’ve installed is blank. Fortunately, Apple provides a way to install macOS over the internet using Internet Recovery. Turn the laptop on and as soon as you hear the boot chime, hold down Command+Option+R to boot into recovery mode.
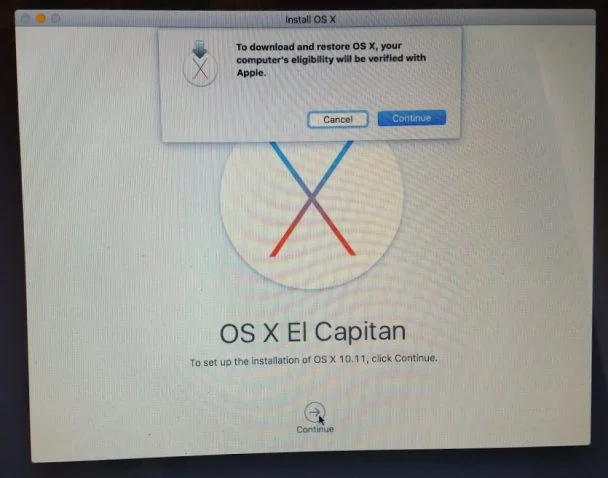
11. You’ll probably be asked to connect to WiFi. Once the utility loads, you’ll have the option to install the OS that shipped with your machine. This process can take a while but once it completes you’ll have a clean system. Perform any upgrades and installs and you’ll be back in business.
