How to configure a static IP address in Chrome OS
 Google’s Chrome OS is really good at just working right out of the box, without much tinkering needed at all. However, every once in a while, a power user might come along who needs to configure a static IP address, instead of just accepting whichever dynamic address that a particular router might want to assign. In cases like these, Chrome OS users were mostly out of luck – until now.
A relatively new flag that has appeared in beta and dev channels of Chrome OS is “Experimental static IP configuration.” To find and enable the flag, simply type chrome://flags into your omnibar, and press ctrl + f to open a search box. Click Enable, and then restart your Chrome device.
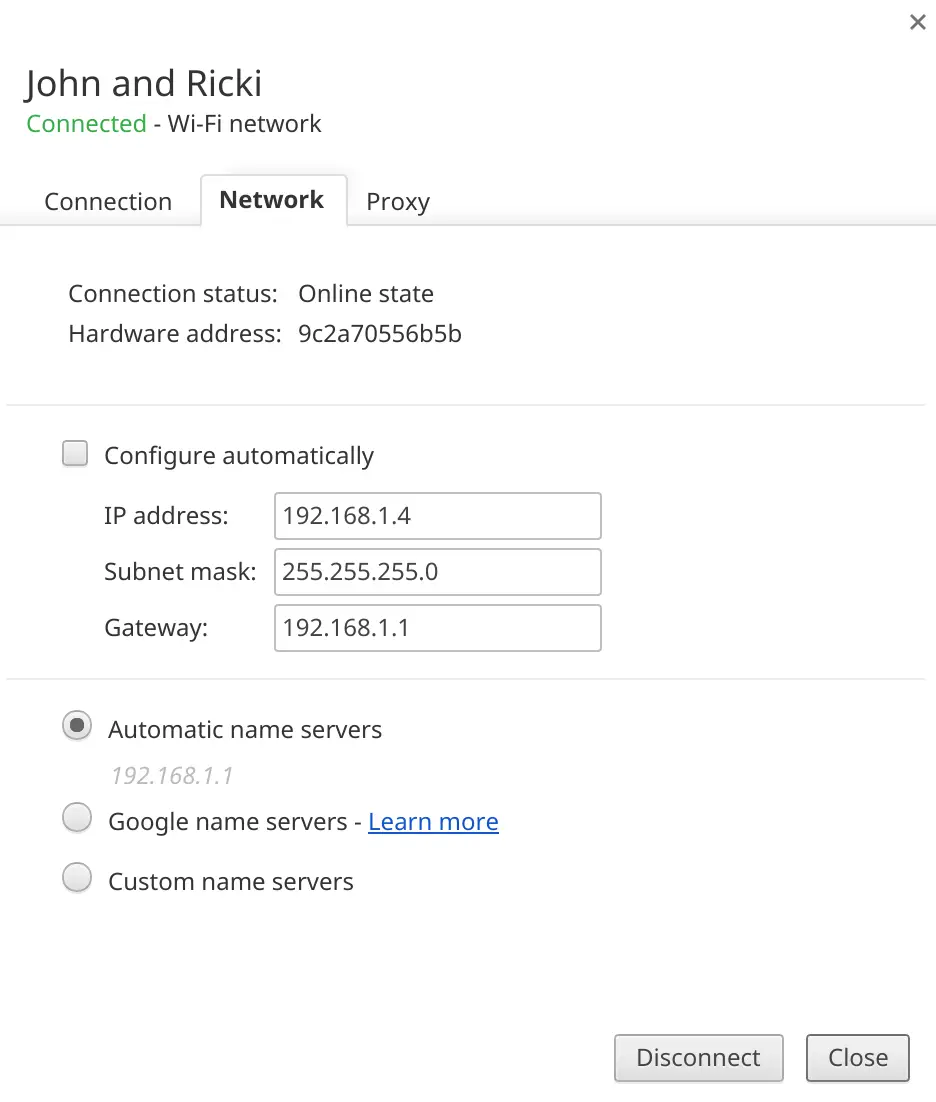
Next, click on the WiFi icon at the bottom right of your screen once you’re connected to the network you wish to configure, and then click the name of the network you’re connected to. Click the Network tab in the box that pops up, and deselect Configure automatically.
That’s it! You can now manually configure your IP address, and even adjust your DNS servers at the same time. Since this is already a Chrome flag, it’s probably only a matter of time before Google makes this a default feature in Chrome OS, but for now, you’ll have to take this “backdoor” way to enable this functionality.
