
How to replace a broken display on a Samsung ARM Chromebook
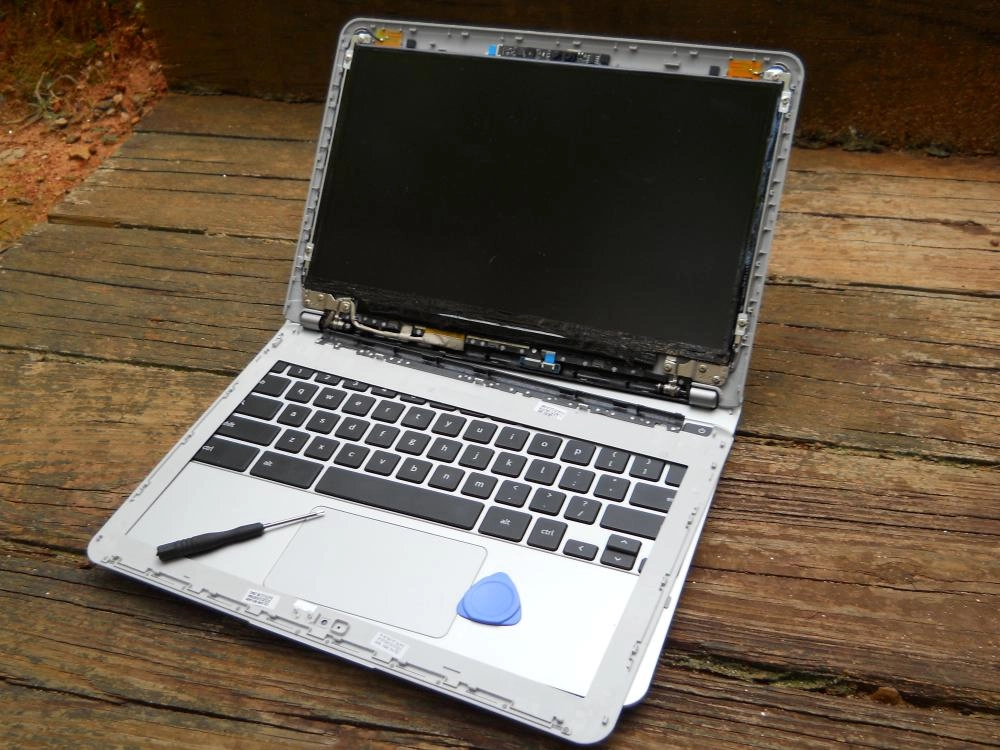
After John found that his Samsung Chromebook on ARM had somehow acquired a crack in the display, I decided to buy the laptop with the hopes of installing a new display. As it turns out, brand new displays can be purchased for only about $50, and the repair process is actually extremely easy. All that you need to have is a small Philips screwdriver, and some sort of prying tool like a credit card or guitar pick; the process only takes about five or ten minutes.

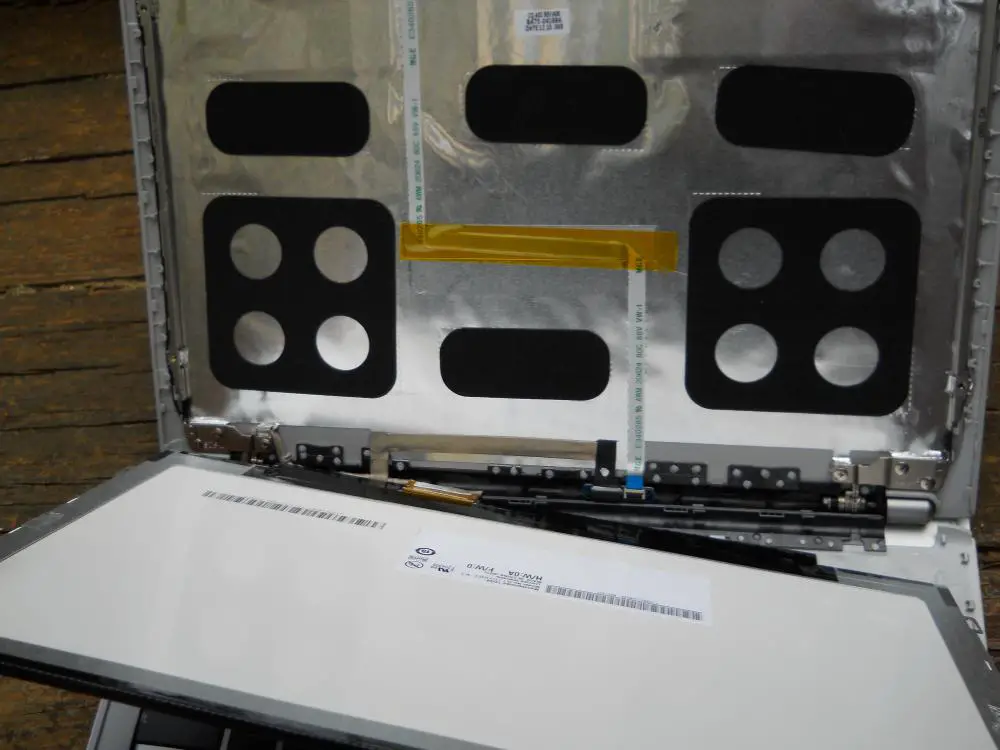
First, you need to take the plastic bezel of the display off of the Chromebook. Surprisingly, there are no screws at all holding on the plastic, and all you have to do is fit the pry tool between the seam and follow all the way around the display. As long as you move carefully and don’t force any of the clips off, the thin plastic bezel should come of easily. Just be careful around the bottom of the display, because the clips seem a little stronger there.

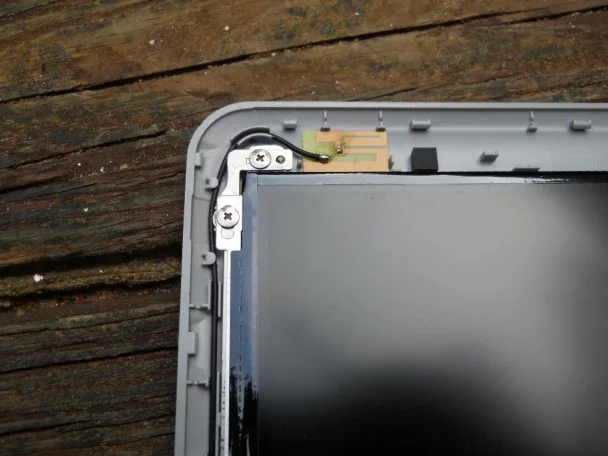
With the plastic off of the front of the laptop, you should be able to easily see all of the workings of the display. There are just four screws holding the display, on each of the corners. Keep in mind that they are all on the left and right sides of the display, not the top and bottom. The screws at the top of the display are not holding the display on. Below, you can see a close up of all four screws. Carefully unscrew them and keep the screws, but don’t try to separate the display from the laptop quite yet.
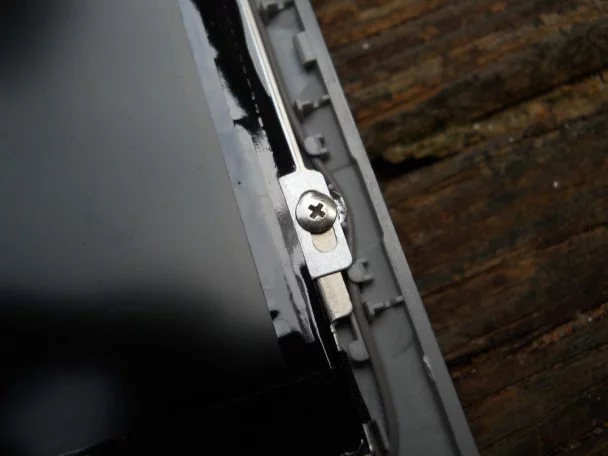
Bottom Right
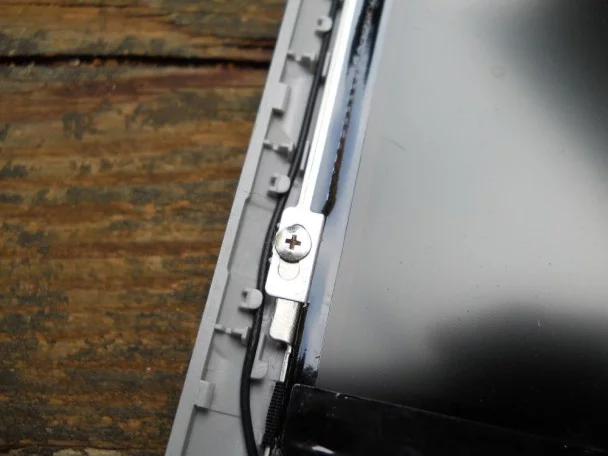
Bottom Left

Top Right. Notice the unrelated screw at the top.
Top Left
With the screws taken out, carefully fold the display down onto the keyboard as if closing the laptop, as it is still connected to the motherboard.
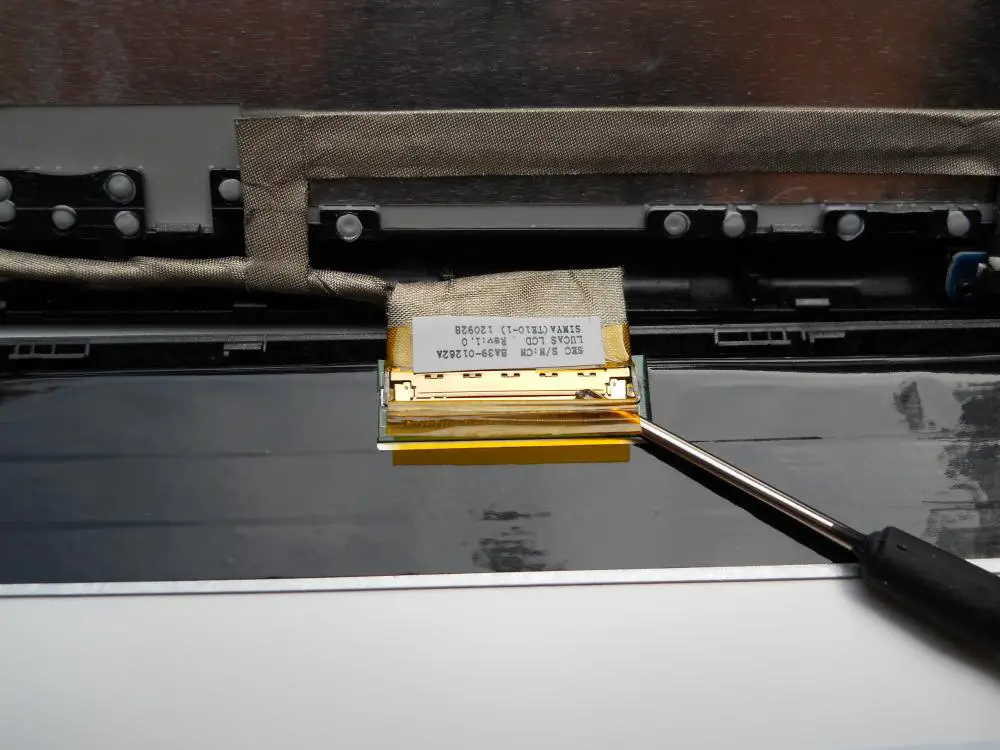
With the display facing downward, use the screwdriver to lift the metal clip holding down the display cable. Then, carefully pull the cable out and the display should be free.
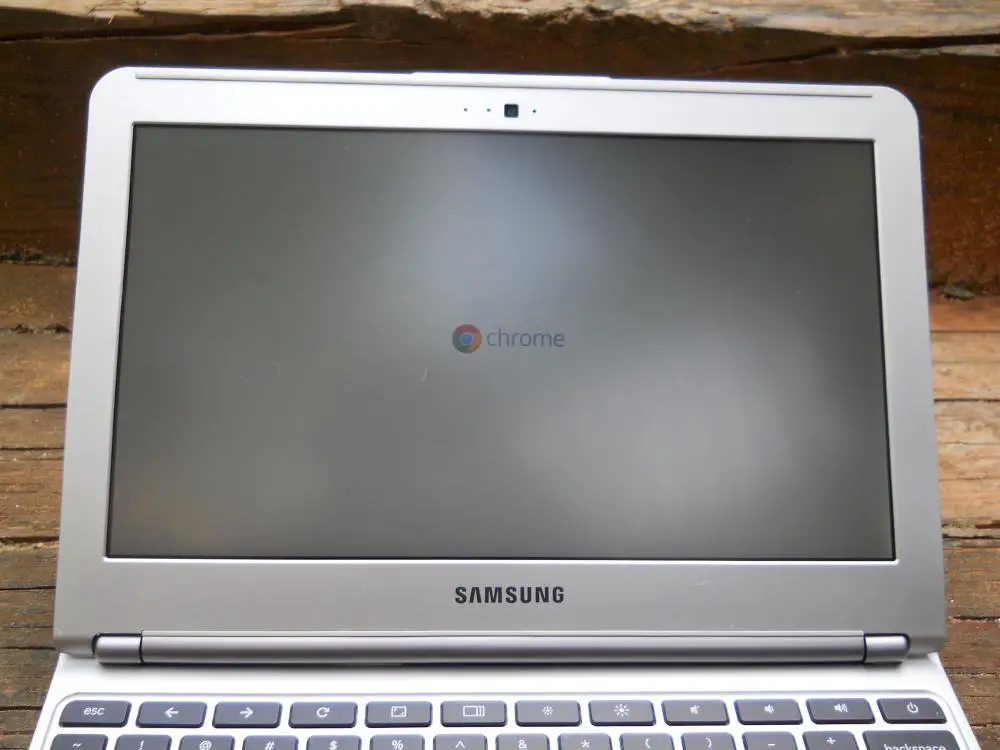
From there, you simply need to plug in the new display, secure it with the four screws, and then press the bezel back on. Once again, make sure to properly secure the bottom hinge part of the bezel, and everything should be working once again. And that’s it, the Samsung Chromebook really is that easy to work on. In fact, it is the easiest display replacement that I have ever done, not that I’m complaining.
